Setting up SES
Create Verified Identities
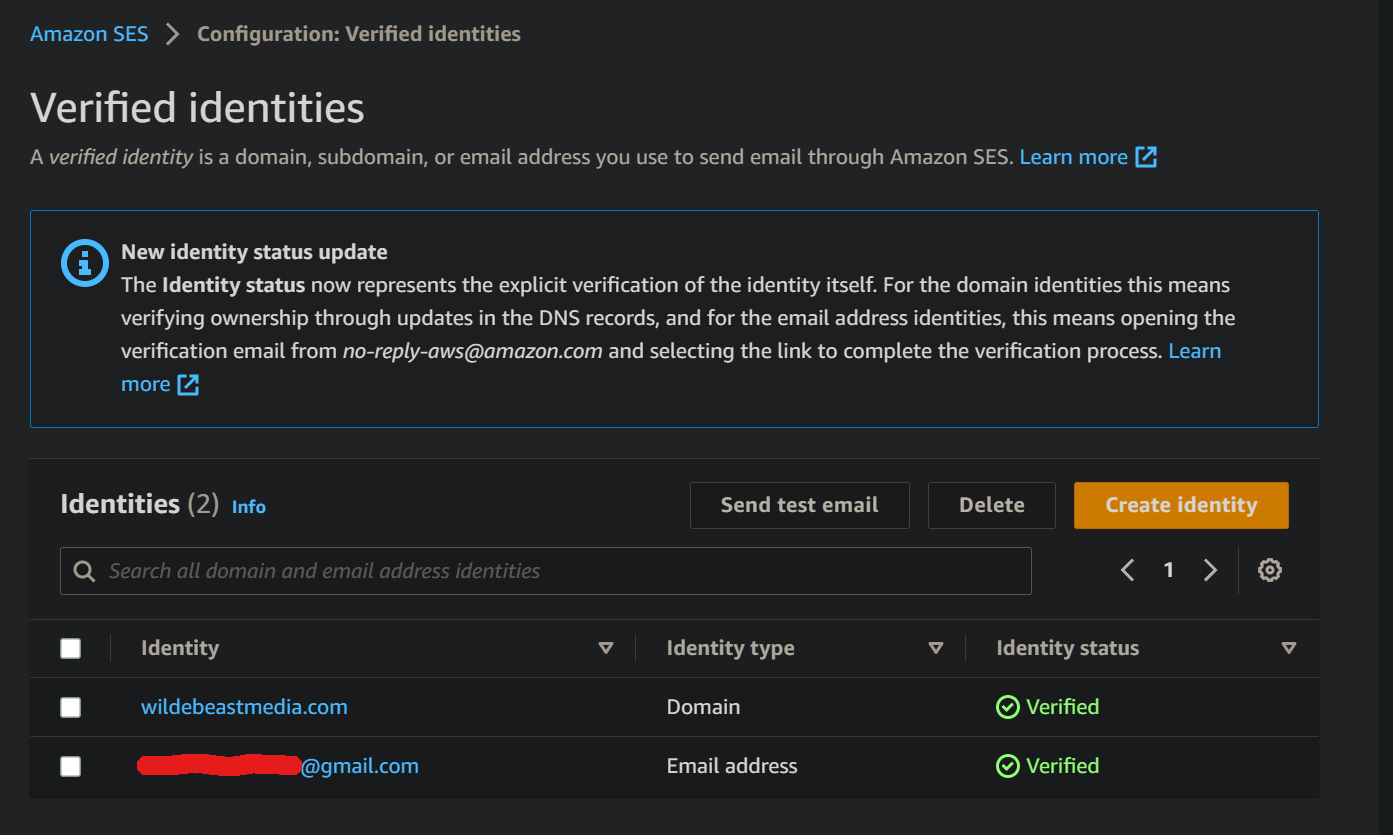
You will need to create a verified identity for the domain that you will be sending/receiving emails as well as any email addresses you will be sending emails to from your domain while in sandbox mode.
Here I created an idendity for my domain and my person gmail.
Verify your email address or domain:
Before you can send emails through Amazon SES, you need to verify the email address or domain you'll be using as the sender. This is to ensure that you control the email address or domain. To verify an email address:
- In the SES console, click on "Email Addresses" in the left sidebar.
- Click the "Verify a New Email Address" button.
- Enter the email address you want to verify, and click "Verify This Email Address".
- You'll receive a verification email at the address you provided. Click on the verification link in the email to complete the process.
- To verify a domain:
- In the SES console, click on "Domains" in the left sidebar.
- Click the "Verify a New Domain" button.
- Enter the domain you want to verify, and click "Verify This Domain".
- Follow the instructions to add the required DNS records to your domain's DNS configuration.
- The domain verification process can take some time, depending on the DNS provider.
Obtain SMTP credentials:
To send emails through Amazon SES using the SMTP interface, you'll need SMTP credentials (a username and password).
- In the SES console, click on "SMTP Settings" in the left sidebar.
- Click the "Create My SMTP Credentials" button.
- Enter a name for the credentials, and click "Create".
- Download or store the generated SMTP username and password securely, as you won't be able to view the password again.
Increase your sending limits (optional):
- By default, Amazon SES has certain sending limits (such as a daily sending quota and a maximum sending rate) to protect against abuse. If you need to send a higher volume of emails, you can request a limit increase by submitting a support request at https://console.aws.amazon.com/support/home#/case/create?issueType=service-limit-increase&limitType=service-code-ses.