Add web content, Configure Server Blocks
Set up web content location
Let’s set up some directories where each of our static sites will be located.
Note this is a subdomain, but it is the same for a domain or subdomain.Now that we have our directories, we will reassign ownership of the web directories to our normal user account. This will let us write to them without sudo.
The permissions of our web roots should be correct already if you have not modified your umask value, but we can make sure by typing:
Create a Sample Page
Now that we have our directory structure set up, let’s create a default page for each of our sites so that we will have something to display.
Create an index.html file in your first domain:
Inside the file, we’ll create a really basic file that indicates what site we are currently accessing. It will look like this:
<html>
    <head>
        <title>Welcome to Example.com!</title>
    </head>
    <body>
        <h1>Success! The example.com server block is working!</h1>
    </body>
</html>
nano, press CTRL+o to write the file out, then CTRL+x to exit.
Create Server Block Files for Each Domain
We need to create the domain (or sub domain) configuration files in the sites-available and sites-enabled directories.
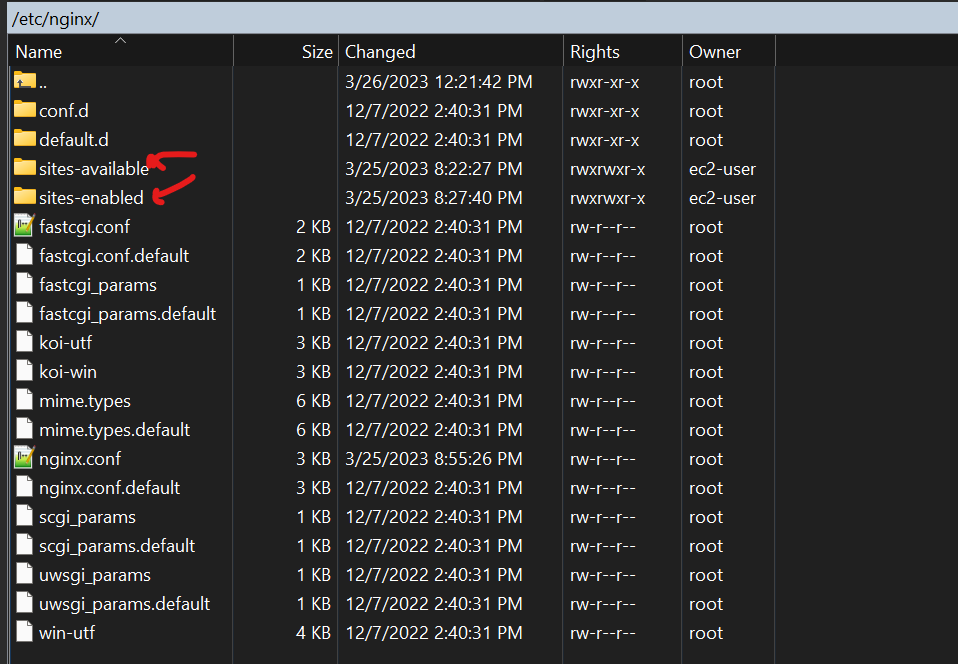
Inside sites-available, we need to create a server block for each domain. The filename should be the domain name.
So for this example.com domain, the file /etc/nginx/sites-available/example.com would look like this
server {
    listen 80;
    listen [::]:80;
    root /var/www/example.com/html;
    index index.html index.htm;
    server_name example.com www.example.com;
    location / {
            try_files $uri $uri/ =404;
    }
}
This is all we need for basic http. The root should be pointing to the folder we created where the index.html will be located. server_name can be followed by any subdomains also pointing to the same site, i.e. www.
Enabling Server Blocks and Restart Nginx
Now that we have our server block files, we need to enable them. We can do this by creating symbolic links from these files to the sites-enabled directory, which Nginx reads from during startup.
We can create these links by typing:
Next, test to make sure that there are no syntax errors in any of your Nginx files:
Server Block for an API
If you have a api running on it's own sub-domain, like api.example.com, you'll want to create a server block for it as well.

server {
        listen 80;
        listen [::]:80;

        server_name example.com;

        location / {
            proxy_pass http://localhost:9080/;
            proxy_set_header X-Forwarded-For $proxy_add_x_forwarded_for;
            proxy_set_header X-Forwarded-Proto $scheme;
            proxy_set_header X-Forwarded-Port $server_port;
        }
}
9080 is the port that you have configured your app to run on.