Immich
Taking videos at 4k, 60 fps? Worried about the ever accumulating storage on your photo service drive? There is now a legitimate, self hosted alternative!
Here's how we install Immich.
Prerequisites
Get Docker installed. Setup is quite fast, see my documentation.
Cloning Docker Container
After you have Docker installed it's quite simple (see the official documentation). Create a folder for where the docker container will go. I'm creating a folder within a docker folder where other Docker apps can also be stored. Then we'll also download the config files, which will enable Docker Compose to spin up the container.
mkdir ./docker/immich-app
cd ./docker/immich-app
wget https://github.com/immich-app/immich/releases/latest/download/docker-compose.yml
wget -O .env https://github.com/immich-app/immich/releases/latest/download/example.env
wget https://github.com/immich-app/immich/releases/latest/download/hwaccel.yml
Change the environmental variables
Here you can customize the upload location of photos on your server as well as the database password.
Abstract
# You can find documentation for all the supported env variables
# at https://immich.app/docs/install/environment-variables

# The location where your uploaded files are stored
UPLOAD_LOCATION=./library

# The Immich version to use. You can pin this to a specific version like "v1.71.0"
IMMICH_VERSION=release

# Connection secret for postgres. You should change it to a random password
DB_PASSWORD=postgres

# The values below this line do not need to be changed
##############################
DB_HOSTNAME=immich_postgres
DB_USERNAME=postgres
DB_DATABASE_NAME=immich

REDIS_HOSTNAME=immich_redis
Change the password
Add your own password to the .env file here DB_PASSWORD=postgres
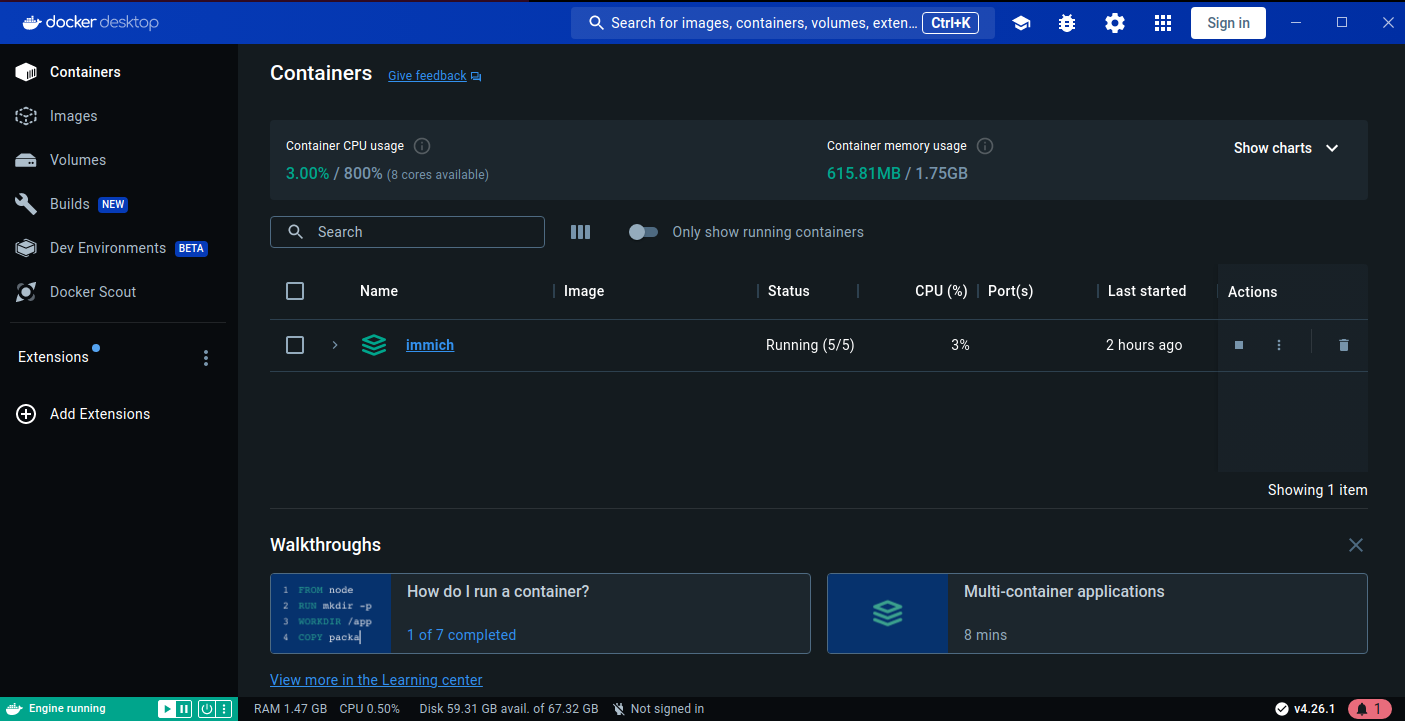
Start the Container
You should now see the container running in Docker Desktop if you happened to install that as well.
Open the App
Immich runs on port 2283. If you are on Ubuntu Desktop you can access the website via
Otherwise, if you are access it from another computer on the network, make sure you allow the port on the firewall.
Nginx Reverse Proxy
Let's set up Immich to be accessible from the world wide web!
Prerequisites
If you haven't already installed nginx or certbot, please follow my documentation before continuing to get those installed.
Set up an nginx server block
Let's configure a server block for photos.mydomain.com. Of course, you can replace mydomain with a domain that you own.
Let's make sure we're in the nginx site-available directory
Create a server block for photos.<mydomain>.com.
Paste the following configuration
server {
    listen 80;
    listen [::]:80;

    # replace with your domain or subdomain
    server_name photos.mydomain.com

    # https://github.com/immich-app/immich/blob/main/nginx/templates/default.conf.template#L28
    client_max_body_size 50000M;

    location / {
        proxy_pass http://localhost:2283;
        proxy_set_header Host              $http_host;
        proxy_set_header X-Real-IP         $remote_addr;
        proxy_set_header X-Forwarded-For   $proxy_add_x_forwarded_for;
        proxy_set_header X-Forwarded-Proto $scheme;

        # http://nginx.org/en/docs/http/websocket.html
        proxy_http_version 1.1;
        proxy_set_header   Upgrade    $http_upgrade;
        proxy_set_header   Connection "upgrade";
        proxy_redirect off;
    }
}
Replace the domain
Just remember to replace photos.mydomain.com with the actual domain you want routed to Immich.
Save this file.
Enable the site.
Let's just test our nginx config real quick to make sure there were no syntax issues.
Configure DNS Routing
Before we set up certbot, we need to configure routing for the domain or subdomain that we want to route to our home server.
For AWS users, simply go to Hosted Zones, choose the domain that you want to create a record for, and hit Create Record. In our example here, were are using a subdomain photos. The record will be a CNAME, which allows use to forward traffic to the DDNS we created with No-IP. Hit save. Now we have a CNAME routing for photos.mydomain.com which will forward traffic to our DDNS aka our home server.
Configure SSL (HTTPS)
Let's install our SSL certificates so that we make sure our site always uses HTTPS.
We should get a Congratulations! message from certbot.
Let's test our configuration once again.
And now restart the nginx service.
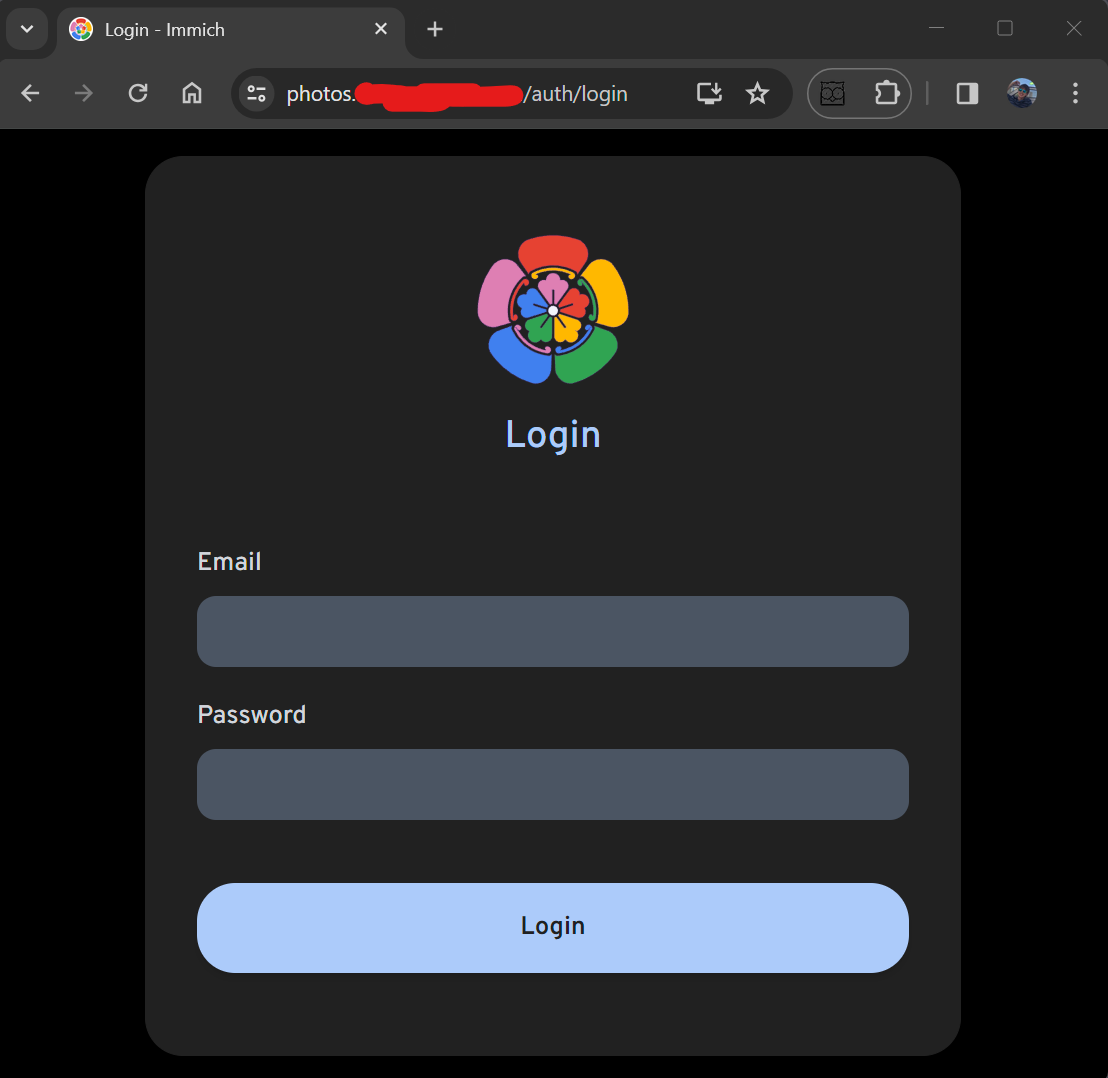
Testing
Excellent! We can now hit our Immich server from the world wide web!
Immich Behind a CloudFlare Tunnel with Google OAuth
Step 1: Set up Google as an Auth Provider in CloudFlare
Go to Settings -> Authentication -> Login Methods
Hit the Add new button.
CloudFlare will provide instructions for setting up Google as an identity provider. Follow these instructions to create an App ID and Client secret. You will enter these values into the Google identity provider App ID and Client secret.
Step 2: Set up a public hostname for your tunnel.
Navigate to your tunnel in Networks -> Tunnels. Click on your tunnel and hit the Edit button.
Click on Public Hostname at the top. Add the desired subdomain and the local IP:port that the Immich app is running on. You can now access this via the hostname URL in the browser.
Step 3: Set up a CloudFlare SaaS Application
Go to Access -> Applications.
Hit Add an application. Choose SaaS.
Give the application a name, i.e. Immich.
The logo can be this URL.
The scopes should be openid, email, profile.
The redirect URLs should be
http://local_IP:2283/auth/login
http://local_IP:2283/user-settings
https://immich.yourdomain.com/auth/login
https://immich.yourdomain.com/user-settings
http://local_IP:2283/api/oauth/mobile-redirect
https://immich.yourdomain.com/api/oauth/mobile-redirect
Note the Client ID, Client Secrent, and the Issuer URL. Copy these as we'll need them for the Immich Admin configuration.
Create a Policy called Immich Access Policy.
Action is Allow.
In the Configure Rules, set the Selector to Emails. Add any emails that should have the ability to sign into the application.
Save the policy.
For Authentication, set your Auth provider i.e. Google.
In Immich go to Administration -> Settings -> OAuth.
Paste in the Issuer URL, Client ID, and Client Secret.
Scroll down to the Mobile Redirect URI Override. You need to toggle this on because CloudFlare does not allow us to use the app.immich:; URL. Set this to be https://immich.yourdomain.com/api/oauth/mobile-redirect.
Verify that you can sign in correctly on both web and mobile.
Deactivate password sign in.
Congrats, you are now tunneling into your Immich instance using CloudFlare tunnel, and authenticating using OAuth with Google with CloudFlare as the issuer.
Keep in mind that CloudFlare Tunnel does have a file size upload limit of 100 MB. Any large videos you have WILL NOT SYNC. The only way you will sync these large videos would be to connect through a VPN.